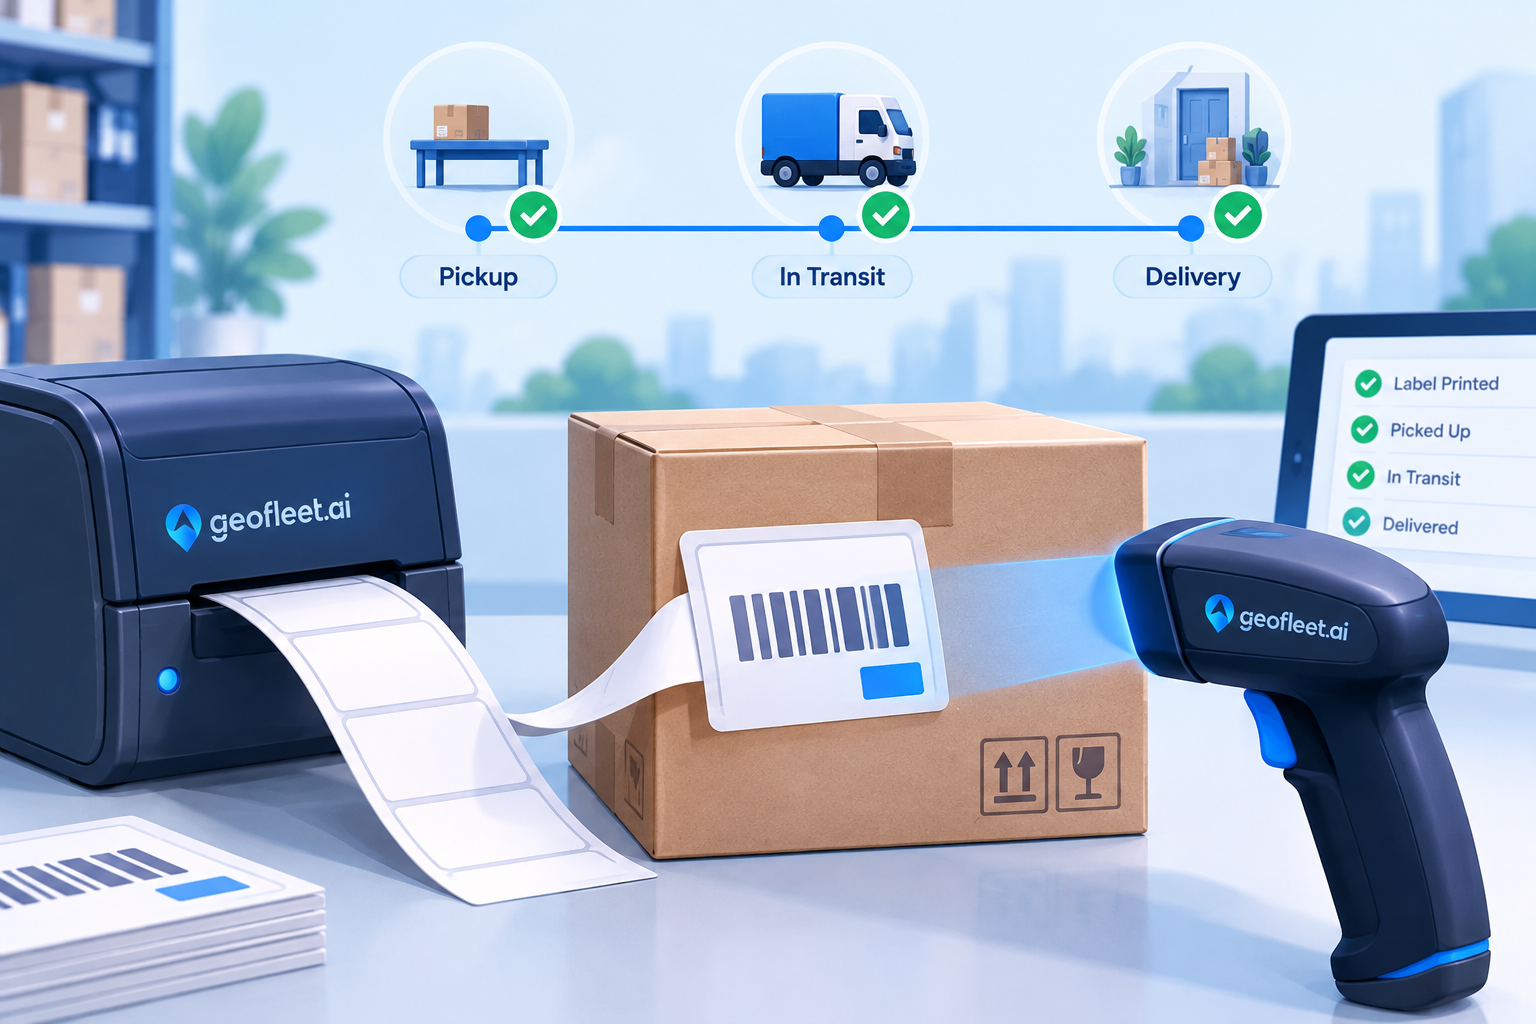
Delivery shipping label setup rarely gets the attention it deserves because labels feel like a solved problem. Carriers have printed them for decades. But a last-mile label does a different job from a carrier label. It is not travelling through a sorting network; it is being loaded by a Captain at a hub, scanned at a doorstep, and matched against a route the platform planned that morning. The information it carries, and the scans it enables, are what turn a planned route into a tracked one.
This post explains what belongs on a last-mile shipping label, which scan events to configure and what each one should change, how scans prevent misloads and handle multi-parcel orders, and how to give each Shipper its own template. In Geofleet, all of this lives under Settings, Alerts and Templates, Shipping Label Configuration.
What Belongs on a Last-Mile Shipping Label
A useful way to design the label is to separate what is for the scanner from what is for the Captain and the customer. The scanner needs one reliable identifier. The Captain needs to find the parcel on a shelf, load it in the right order, and know how to handle it at the door. The customer needs to see their order confirmed without their full details being exposed to anyone who sees the parcel.
| Field | Format | Who it serves | Why it matters |
|---|---|---|---|
| Order ID | 1D barcode or QR code, plus human-readable text | Scanner, Captain | The single key that links every scan to the order record |
| Parcel number | "2 of 3" and a parcel-level barcode | Scanner, Captain | Multi-parcel orders are tracked per parcel |
| Route and stop sequence | Large text, e.g. R14 / 07 | Captain, loader | Load in reverse stop order; find the parcel fast |
| Hub code | Short code | Loader | Stops a parcel leaving from the wrong hub |
| Delivery window | Time range | Captain | Visible priority when the day slips |
| COD amount flag | Highlighted box with amount | Captain | Collect cash at the door; no surprise at the step |
| Handling flags | Icons or words: fragile, cold-chain, this way up, age check | Captain, loader | Correct handling and vehicle placement |
| Customer name and address | Text | Captain | Confirm at the door; needed for failed-delivery handling |
| Phone, last digits only | Masked, e.g. ***4521 | Captain | Verify identity without printing a full number on the box |
| Return address | Small text | Anyone handling a returned parcel | Undeliverable parcels find their way back |
| Shipper branding | Logo, name | Customer | Recognition on the doorstep; reduces refusals |
Barcode or QR?
A 1D barcode (Code 128 is common) scans reliably with handheld scanners and phone cameras and carries the order or parcel ID comfortably. A QR code holds more data and scans from more angles, which helps when Captains scan with a phone in poor light. Many operators print both: the barcode for hub scanners, the QR for the driver app. What you should not do is encode anything in the code that the system cannot look up from the ID. The label is a key, not a database.
Label sizes and printers
The 4 by 6 inch (100 by 150 mm) thermal label is the default for parcels and works on the direct-thermal printers most hubs already own. Smaller 2 by 3 inch labels suit food and pharmacy bags where space is limited, at the cost of dropping some human-readable fields. Geofleet label templates render to PDF sized for the target printer, so hub staff print from a browser or a print station without a special driver. Print in batches by route so labels come off the printer in loading order.
Print the stop sequence large
The single change that most speeds up loading is a stop number printed at 20 mm or larger. Loaders can stage parcels in reverse order without reading anything else, and a Captain can find the next parcel by glancing at the shelf rather than scanning each box.
Scan Events: What Each Scan Changes
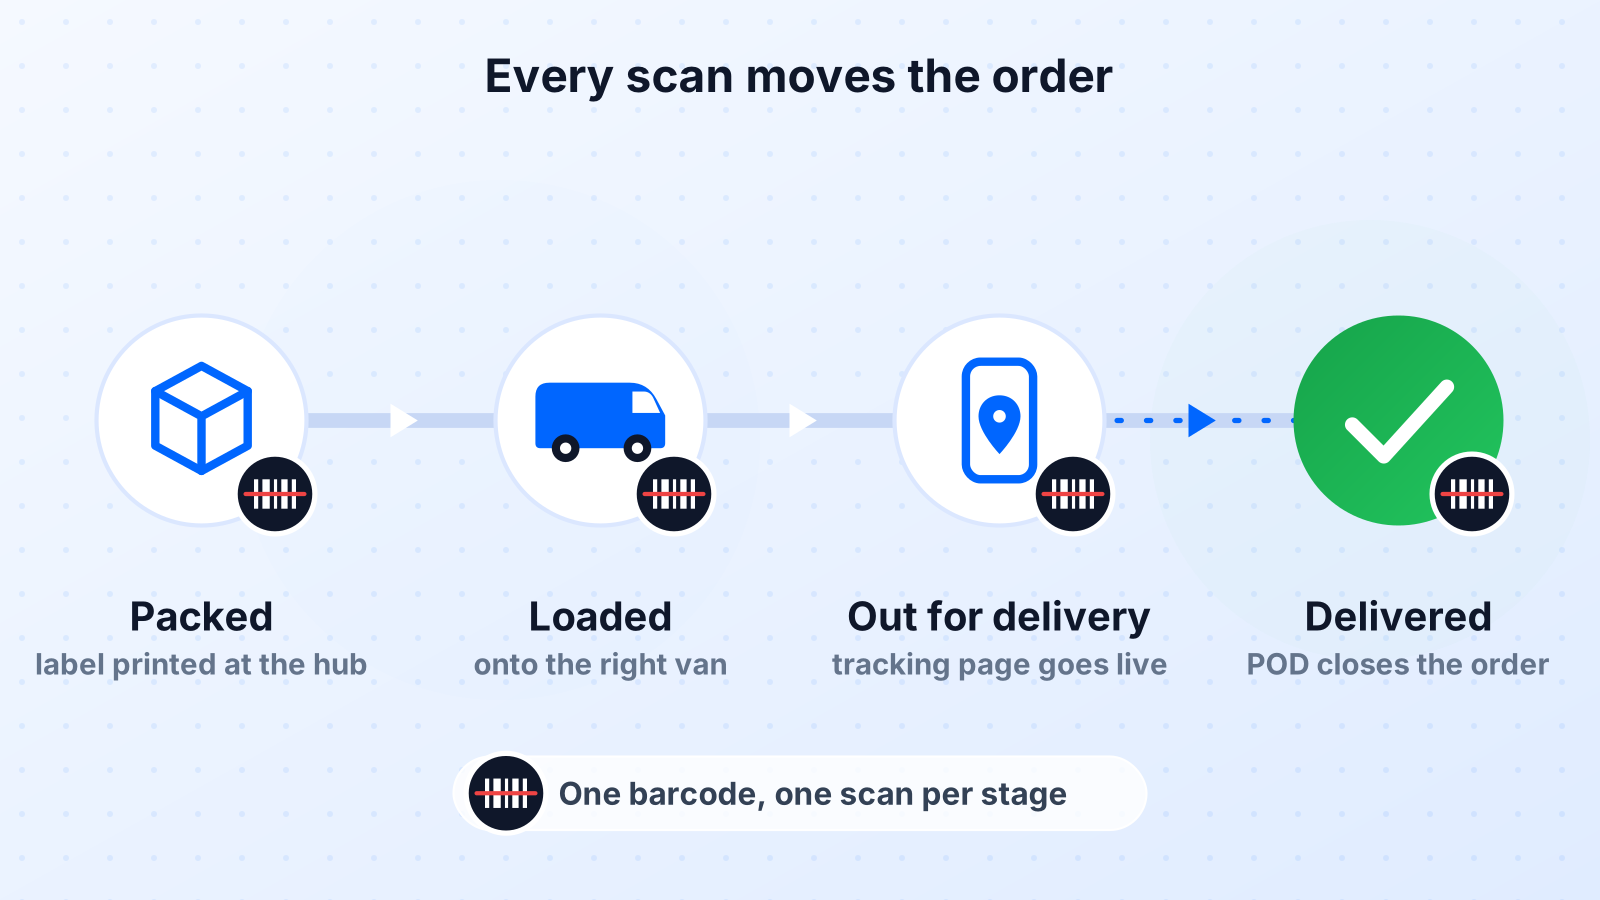
The label earns its keep through scans. Each scan event is configured to update the order status, refresh the tracking page, and trigger notifications where appropriate. The events below are the standard set; you can enable the ones that match your process and rename them under System Terminology if your team uses different words.
| Scan event | Where | Status change | What else happens |
|---|---|---|---|
| Packed | Packing bench | Ready for dispatch | Parcel count confirmed; order eligible for planning |
| Loaded | Hub, at the vehicle | Loaded on route R14 | Misload check against assigned route; loading progress per route |
| Out for delivery | Route start | Out for delivery | Customer notification with tracking link and ETA |
| Arrived | Driver app, at the stop | Captain at location | Optional arriving-now notification |
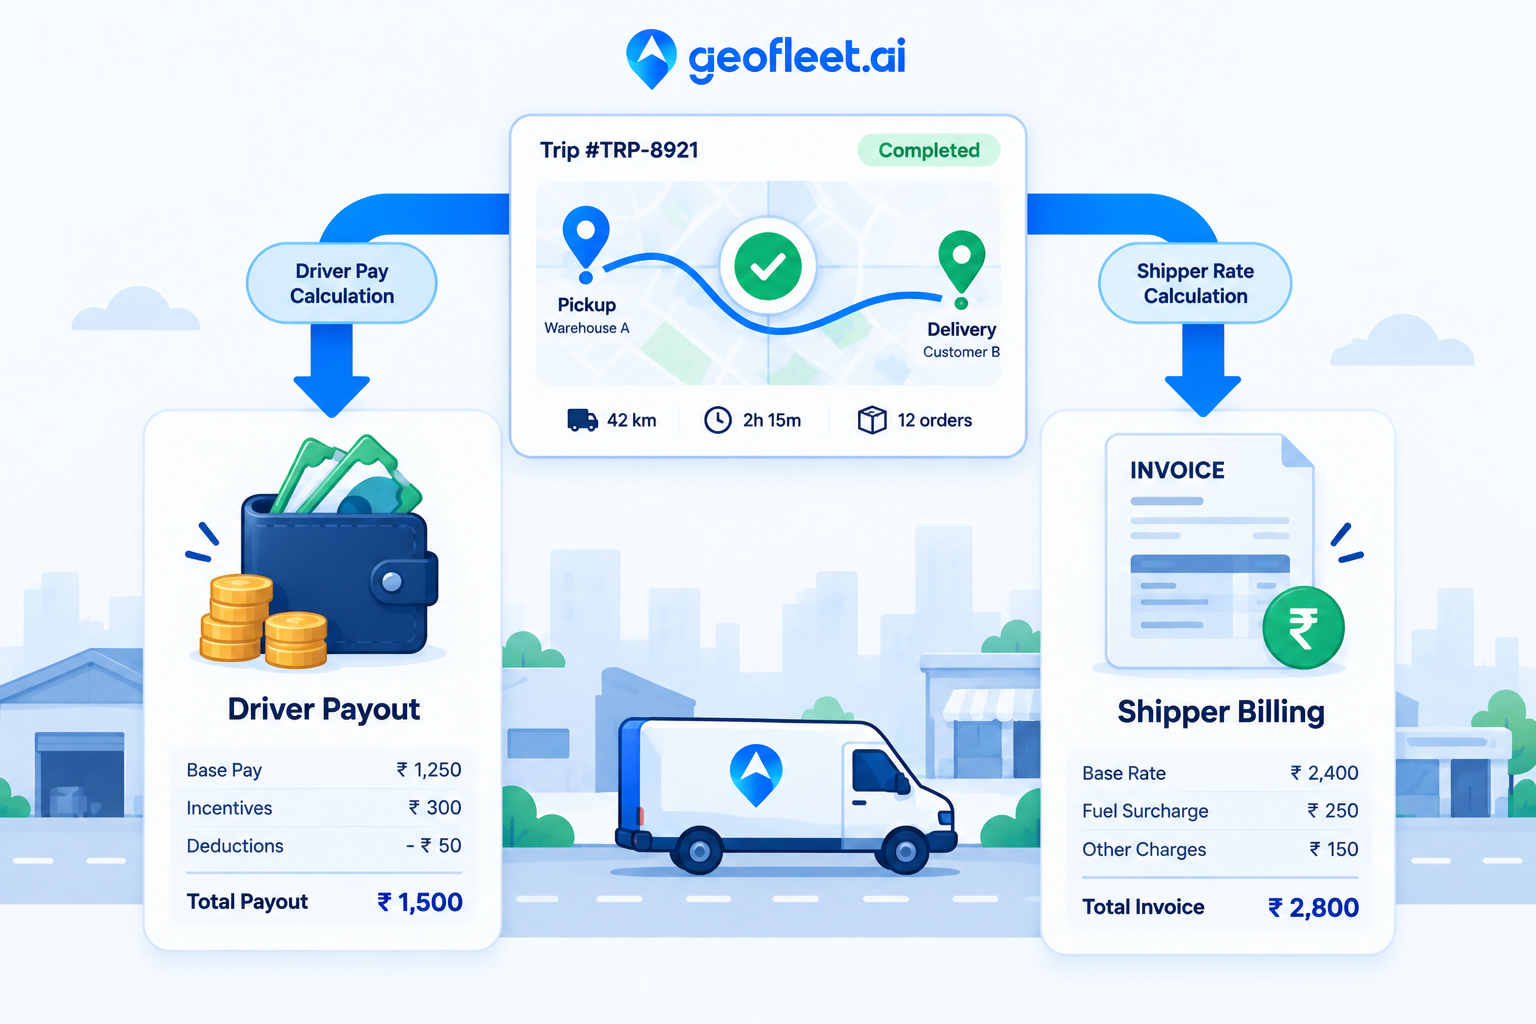
| Delivered | Doorstep, with POD | Delivered | POD captured; tracking page shows completion; billing and payout lines created |
| Failed attempt | Doorstep | Attempted | Reason captured; reattempt or return flow; customer notified |
| Returned to hub | Hub | Returned | Parcel back in inventory; reverse logistics or reattempt |
Notice how much hangs off the delivered scan. The proof-of-delivery record, the customer-facing completion, and the finance lines all key off that one event. This is why label reliability matters to finance as much as to operations: a parcel delivered without a scan is a parcel that has to be reconciled by hand.
Misload Prevention at the Load Scan
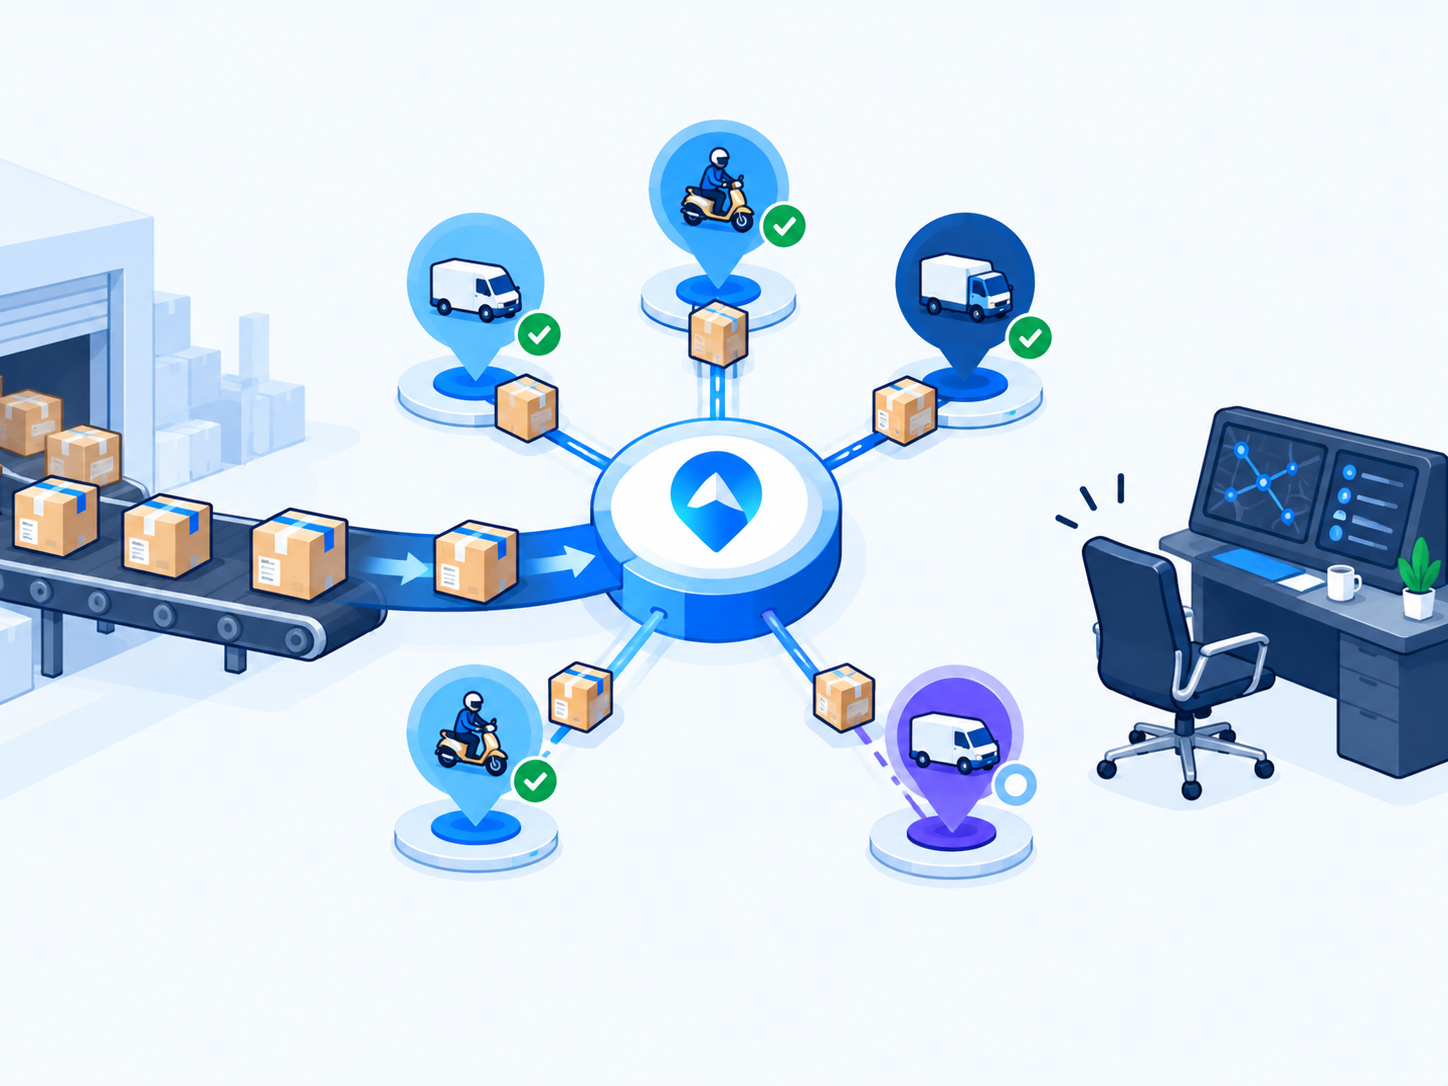
The most valuable scan is the one at the vehicle door. When a loader scans a parcel, Geofleet checks the parcel against the route the Captain is loading. A parcel that belongs to another route, another hub, or a later wave produces an immediate warning on the scanner or driver app. The parcel goes back on the shelf instead of leaving the yard. Compare that with discovering the misload at stop 12, where the options are a detour to another route, a return to the hub, or a failed delivery.
The load scan also gives the dispatch tower a loading progress view per route: how many of the route’s parcels are on the vehicle, which are still missing, and which have been scanned onto the wrong vehicle. A route cannot be marked departed until the count matches or a dispatcher accepts the shortfall with a reason. That single rule catches most of the "customer says it never arrived" cases before they happen.
"We cut our misloads to almost nothing in the first week of load scanning. Not because loaders got better, but because the scanner told them about the mistake while the parcel was still in their hands."
— Hub manager, e-commerce fulfilment operator
Multi-Parcel Orders
An order with three parcels needs three labels, each with its own parcel barcode and a "1 of 3" marker, all linking to the same order. The scan events then operate at two levels. Each parcel gets its own packed, loaded, and delivered scan. The order status reflects the aggregate: loaded only when all three are on the vehicle, delivered only when all three have a delivery scan. A partial delivery, where two parcels arrive and one is missing, is shown as exactly that on the tracking page and in the console, with the missing parcel’s last scan location visible.
This matters for billing too. The rate card can price per order or per parcel, and a partial delivery should generate the right line either way. The payouts and rate charts post linked below covers how those lines are built.
Handle split shipments deliberately
If parcels of one order are packed at different times or hubs, decide whether they should ride together. Geofleet can hold an order for planning until all parcels are packed, or release each parcel as a separate delivery with its own scans and a shared order reference. Either is fine; mixing the two without a rule is not.
Label Templates per Shipper
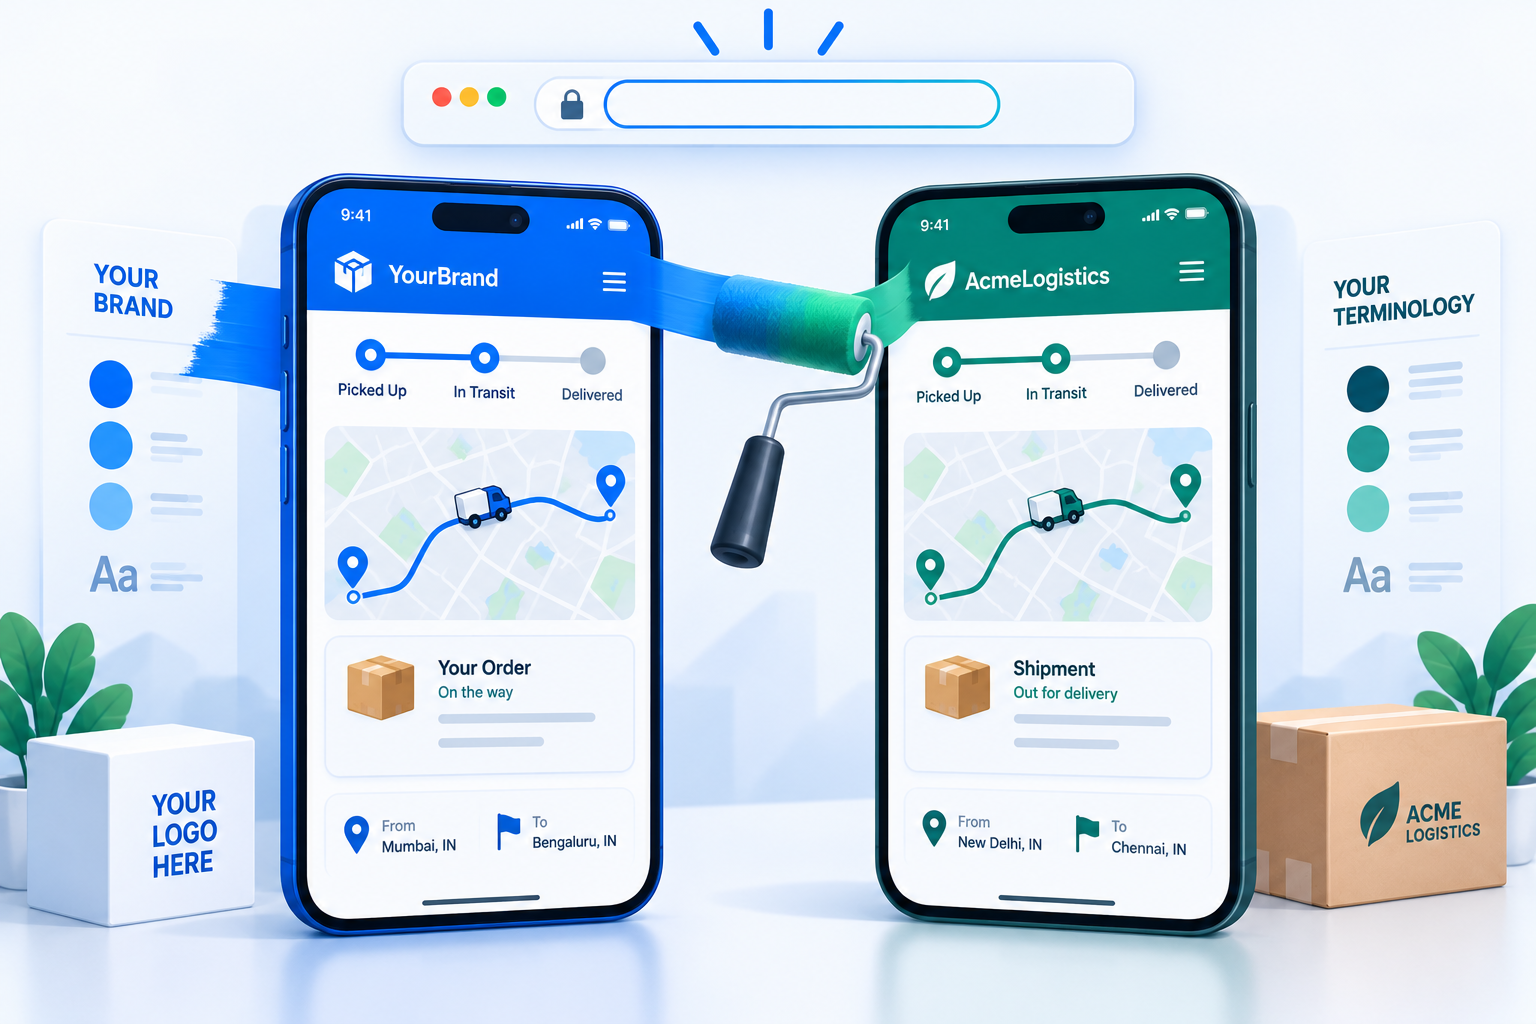
Shippers care about what the customer sees on the box. A retail brand wants its logo and a thank-you line. A pharmacy needs a discreet label with no product description. A B2B distributor wants the PO number printed large. Geofleet label configuration supports a template per Shipper, with a default template for everyone else. A template controls the visual layout, the branding, which optional fields print, and the label size.
What the template does not change is the barcode content and the scan events. Every label, whatever it looks like, carries the same identifier format, so hub scanners and the driver app handle every Shipper’s parcels the same way. This is the right split: presentation varies by client, process does not. For operators with multiple hubs and cities, the scaling guide linked below explains why standardising the scan process early pays off.
Fields you might make optional per template
- Shipper logo and brand colours
- Customer-facing message or return instructions
- External reference numbers such as PO or marketplace order ID
- Product description (often omitted for pharmacy and high-value goods)
- Language of printed labels
Setting Up Shipping Labels: A Short Checklist
- Choose the identifier: order ID for single-parcel operations, parcel ID with order reference for multi-parcel. Pick barcode, QR, or both.
- Define the default template with the fields in the table above, sized for your printers. Test scan rates with the actual scanners and phones your team uses.
- Enable scan events that match your process. At minimum: loaded, out for delivery, delivered. Add packed if you run a packing bench, and returned to hub if you handle returns.
- Turn on misload checking at the load scan and require a route count match before departure.
- Create Shipper templates only where a client has a real requirement. Keep barcode content fixed across all templates.
- Connect scan events to notifications, so out for delivery and delivered scans trigger the customer messages described in the SMS templates post linked below.
Related reading
Frequently asked questions
What should be printed on a last-mile delivery label?
An order or parcel ID as a barcode or QR code with human-readable text, the route and stop sequence in large print, the hub code, the delivery window, a COD amount flag where applicable, handling flags such as fragile or cold-chain, the customer name and address, a masked phone number, a return address, and optionally the Shipper’s branding.
Should I use a barcode or a QR code on delivery labels?
Either works; many operators print both. A 1D barcode such as Code 128 scans reliably on hub scanners. A QR code scans from more angles and in poorer light, which suits phone cameras in the driver app. Encode only the identifier, not order details, so the label remains a key into the system rather than a copy of it.
What are delivery label scan events?
Scan events are the points where a label is scanned and the order status changes: packed, loaded, out for delivery, arrived, delivered, failed attempt, and returned to hub. Each scan updates the order record, refreshes the customer tracking page, and can trigger notifications, proof-of-delivery capture, and billing lines.
How does label scanning prevent misloads?
At the load scan, the platform checks the parcel against the route being loaded. A parcel for another route, hub, or wave triggers an immediate warning so it goes back on the shelf. A route count check before departure catches missing parcels. Both stop the problem in the yard rather than at the doorstep.
How are multi-parcel orders handled on labels?
Each parcel gets its own label with a parcel-level barcode and a marker such as 2 of 3, all linked to the same order. Scans happen per parcel; the order status aggregates them, so it shows delivered only when every parcel has a delivery scan, and partial deliveries are visible with the missing parcel’s last scan location.
Can different Shippers have different label designs?
Yes. Geofleet supports a label template per Shipper controlling layout, branding, optional fields, and size, with a default template for everyone else. The barcode format and scan events stay the same across all templates so hub and driver processes do not change from one client to the next.